
Step-by-Step Guide to Terrace Waterproofing in Pune
In this blog, we’ll explain the complete process of terrace waterproofing, step by step, and why professional application makes all the difference.
Atharwa Choudhari
11/13/20254 min read


If you live in Pune, you already know how unpredictable the weather can be from scorching summers to intense monsoons. While the rains bring relief, they also bring one common problem for most Punekars, terrace leakage. Water seepage through the roof can damage the structure, cause dampness, and even lead to fungal growth inside your home.
Introduction
That’s where terrace waterproofing comes in a crucial step to protect your home and ensure long-term durability. In this blog, we’ll explain the complete process of terrace waterproofing, step by step, and why professional application makes all the difference.
Why Terrace Waterproofing Is Important
Before jumping into the process, let’s understand why waterproofing is essential for terraces, especially in cities like Pune.
Heavy Monsoon Rains: Pune receives intense rainfall during the monsoon season, putting flat terraces and old buildings at high risk of leakage.
Temperature Fluctuations: The city’s heat and cold cycles cause expansion and contraction of building materials, leading to cracks.
Aging Buildings: Many residential and commercial structures in Pune are over 10–20 years old, and the old waterproof layers have deteriorated.
Cost Savings: Timely waterproofing prevents structural damage, avoiding expensive repairs later.
Step-by-Step Terrace Waterproofing Process
Here’s how Shakti Enterprises handles terrace waterproofing systematically to ensure lasting protection.
Step 1: Inspection and Surface Preparation
The first step is a detailed inspection of the terrace. We look for cracks, damaged tiles, and signs of water seepage. Any existing waterproofing layer is checked for adhesion.
Then, the surface is thoroughly cleaned, removing dust, loose mortar, algae, and grease using wire brushes or pressure washing. A clean and dry surface ensures the new waterproofing material bonds properly.
If there are visible cracks, they are cut open in a V-groove shape and filled with a polymer-modified repair mortar or sealant.


Step 2: Crack Filling and Slope Correction
Next, we ensure that the terrace has a proper slope towards the drain outlets. Poor slope is one of the main reasons for water stagnation and leakage.
Low-lying areas are repaired using polymer-modified mortar or a cementitious screed. All cracks, joints around parapet walls, and pipe outlets are sealed with PU or epoxy sealants to prevent leakage through vulnerable points.


Step 3: Primer Application
Once the surface is even and clean, a primer coat is applied. This coat helps the waterproofing membrane bond effectively with the surface. Depending on the system chosen, we may use:
Acrylic-based primer for liquid waterproofing systems
Epoxy primer for epoxy or PU-based coatings
This step ensures maximum adhesion and prevents peeling or delamination later.
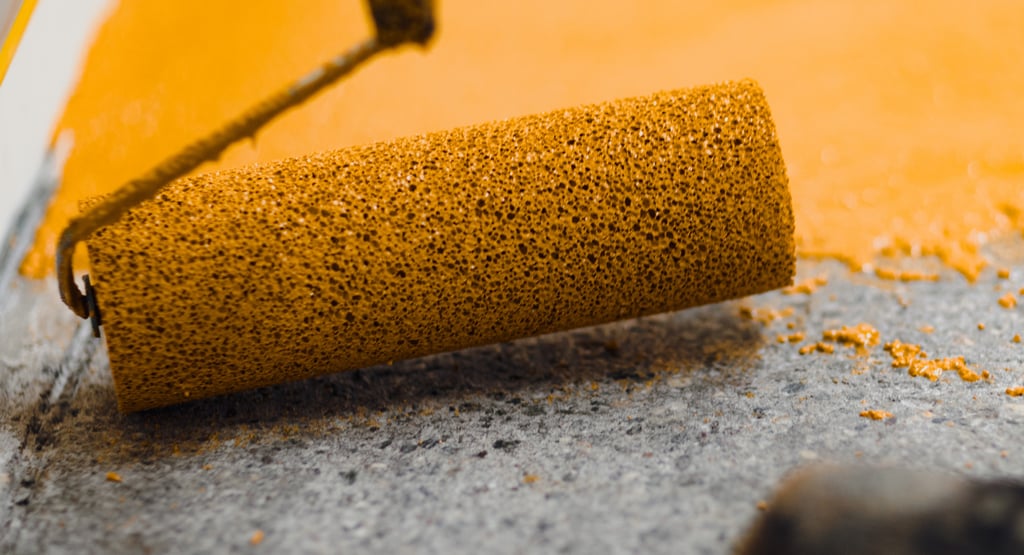
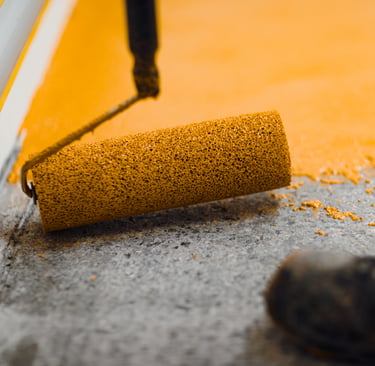
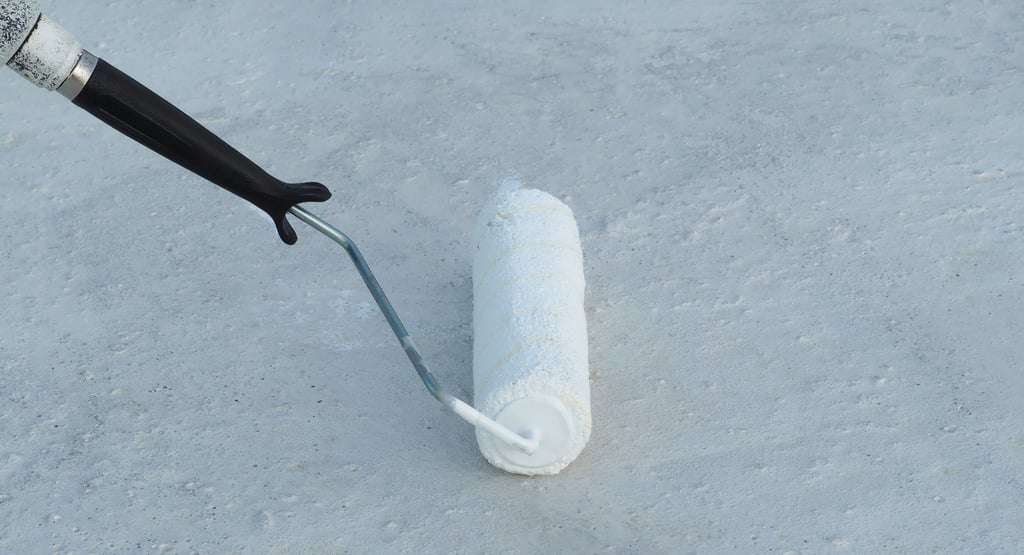
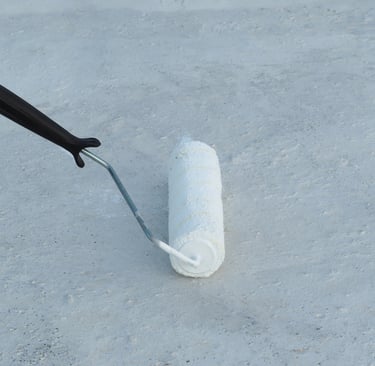
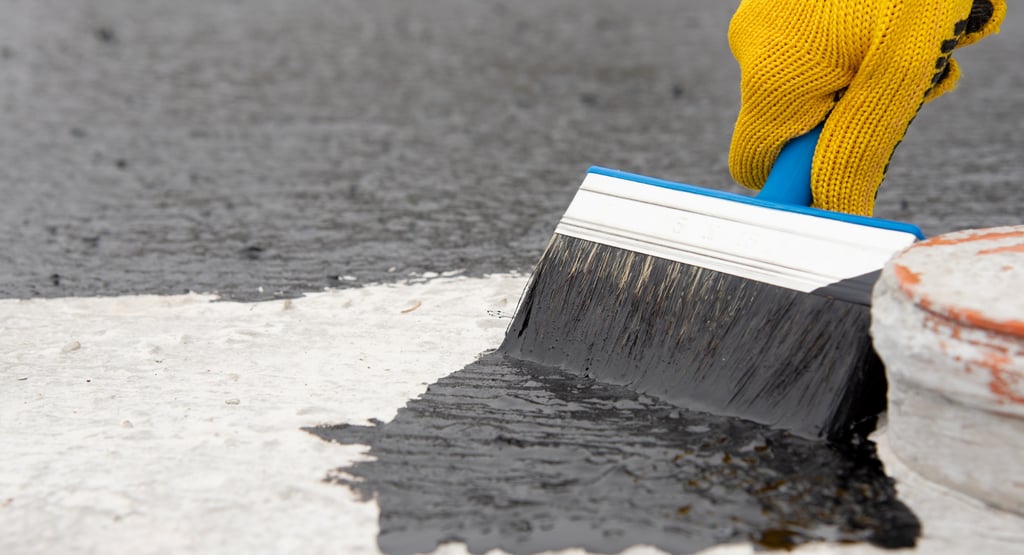
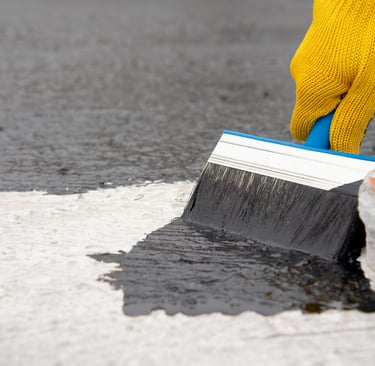
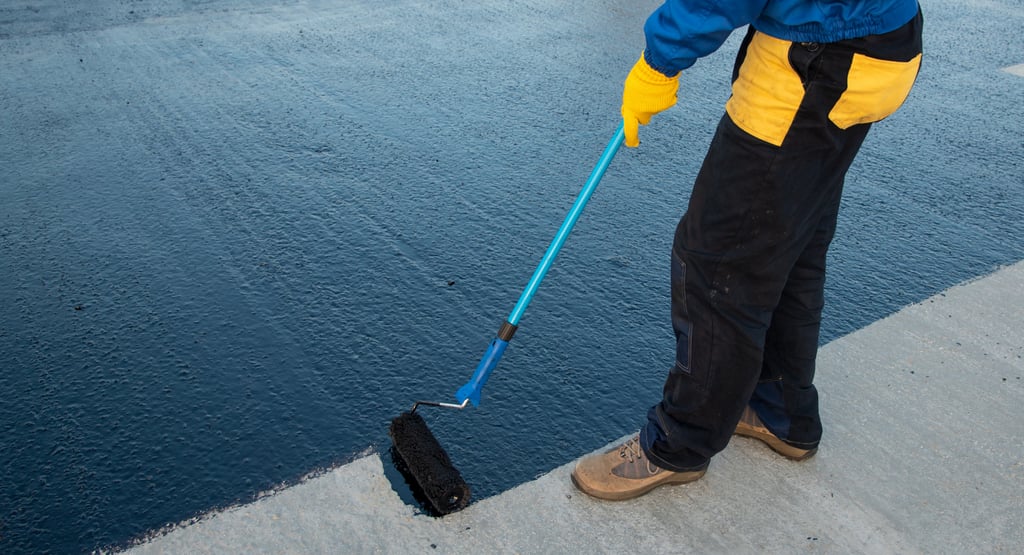
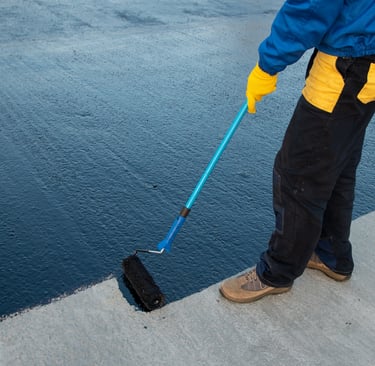
Step 4: Waterproofing Membrane or Coating Application
Now comes the most important part, the application of the waterproofing system. There are different methods based on budget, site condition, and durability requirement:
1. Liquid Waterproofing (Acrylic or PU Coating)
A two- or three-coat system is applied using a roller or brush. Each coat is allowed to dry for a few hours before applying the next.
The final coating forms a seamless, flexible film that covers cracks and prevents water penetration.
2. Cementitious Coating
This involves mixing a cement-polymer combination and applying it in two layers. It’s a cost-effective option often used for domestic terraces.
3. APP Membrane (Bituminous Sheet)
In this method, a 3mm or 4mm thick membrane is torch-applied over the prepared surface.
The sheet overlaps are sealed with heat, creating a continuous waterproof barrier.
It’s durable and widely used in large commercial and industrial buildings.
4. PU-Based Coating
For high-performance results, polyurethane coatings provide excellent UV resistance and flexibility.
This system is ideal for terraces exposed to direct sunlight throughout the year, perfect for Pune’s weather.
Step 5: Protective Screed or Tiling (Optional)
In some cases, especially where foot traffic is expected on the terrace, we apply a protective cement screed over the waterproof layer.
Alternatively, tiles can be laid with proper joint sealing to enhance durability and aesthetics.
This final layer protects the waterproof coating from mechanical damage and direct exposure to sunlight.
Step 6: Testing and Final Inspection
After the application, the terrace undergoes a ponding test, water is stored on the surface for 24–48 hours to check for leakage.
If no seepage is observed, the waterproofing is considered successful.
A final inspection ensures that all joints, corners, and outlets are perfectly sealed.


Step 6: Why you should pick professional waterproofing
While there are many DIY waterproofing products available, professional application is strongly recommended.
Experts use industrial-grade materials, follow correct preparation methods, and ensure perfect slope and sealing, factors that make all the difference between a temporary fix and a long-term solution.
At Shakti Enterprises, we provide end-to-end waterproofing solutions in Pune
Our goal is simple, long-lasting protection and complete client satisfaction.
Final thoughts
Terrace waterproofing isn’t just another maintenance task, it’s an investment in the longevity of your home. Pune’s weather demands strong, reliable, and well-applied waterproofing systems to prevent leaks and preserve your property.
If you’re looking for trusted terrace waterproofing services in Pune, get in touch with Shakti Enterprises today at 📞 +91 9595101247 for a site inspection and quotation.
Protect your home now, before the next monsoon arrives.
Contact Information
Subscribe to us!
newatharwa@gmail.com
+91-9595101247
© 2025. All rights reserved.